Last updated: September 2026 · Written by Hemi
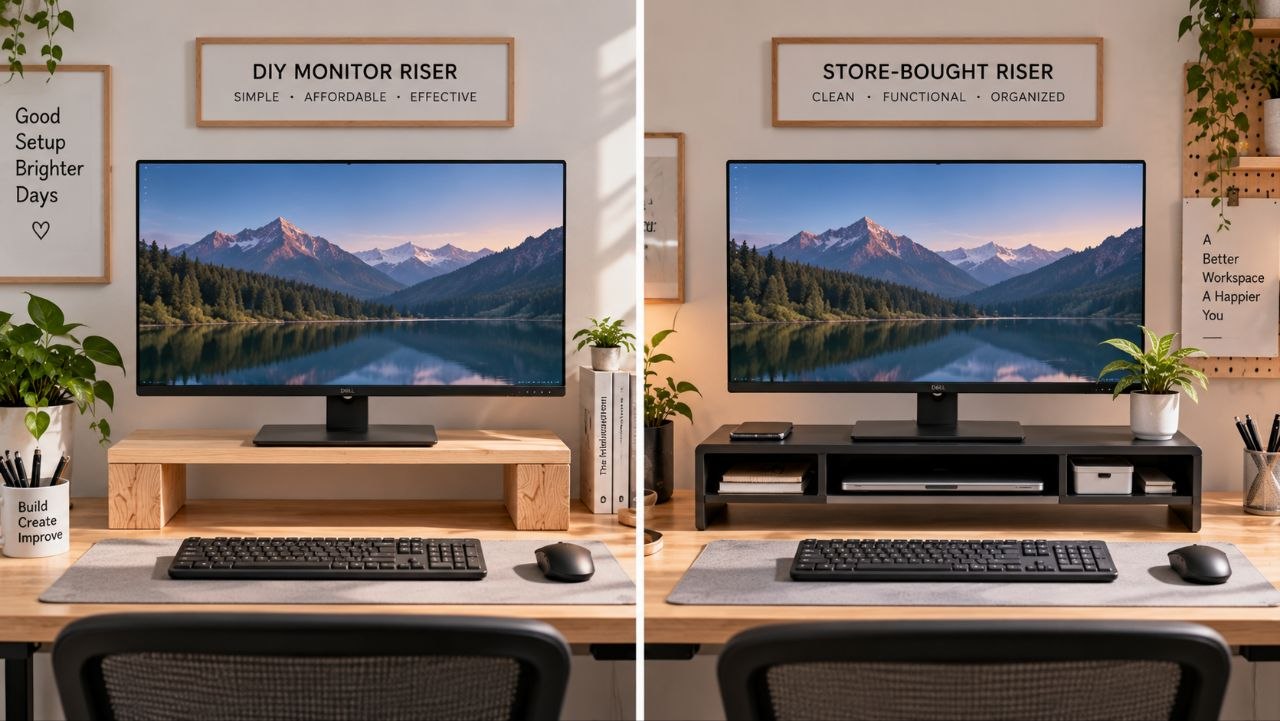
A stack of books under a monitor is the oldest DIY riser. A store-bought monitor riser adds defined heights, cable cutouts, or storage. Neither replaces a full monitor arm when you need frequent repositioning. This article compares DIY bookshelf risers with simple store-bought risers — and points you back to the arm-vs-riser-vs-stand guide when your problem is bigger than a few centimetres of height.
Why Monitor Height Matters
If the top of the screen sits well below eye level, you flex your neck downward for hours. Raising the display is often one of the highest-leverage, lowest-cost comfort changes available. The method can be temporary (books) or intentional (a riser).
DIY Bookshelf Riser
What it is: stable hardcover books, a small shelf board, or a sturdy box sized to the monitor base.
- Pros: nearly free; easy to trial different heights; reversible.
- Cons: can look unfinished; soft paperbacks compress; uneven stacks wobble; no cable pass-through; dusting is annoying.
Do it safely: use a wide, rigid base; keep the centre of gravity over the stack; do not lean a heavy ultrawide on a narrow novel tower; leave ventilation space if the stand also holds a laptop.
Store-Bought Monitor Riser
What it is: a fixed or few-step platform designed for monitors or laptops, sometimes with drawers or slots.
- Pros: predictable heights; usually flatter and more stable; often includes storage or cable openings.
- Cons: costs money; still a fixed or limited height compared with an arm; some are too tall or too short for your body.
DIY vs Store-Bought — Practical Verdict
- Trial first — DIY books for a week to learn your target height.
- Stay long-term on a clean desk — a basic store-bought riser usually ages better.
- Need constant move, tilt, or rotate — neither DIY nor a fixed riser is the right category; look at monitor arms in the comparison guide.
Taxonomy Check (Easy to Mix Up)
A monitor riser lifts a screen on a fixed desk. A standing-desk converter raises a work surface for sit/stand. A bookshelf under a monitor is a riser, not a standing solution. Keeping those labels straight prevents buying the wrong class of product.
Shop the Hemi Life pick
Monitor Stand Riser — 3 Height Adjustable — Check on Hemi Life.
Bottom Line
Use DIY to discover the height you need. Move to a simple riser if you want stability and tidiness. Move to an arm only if you need ongoing repositioning — not because arms feel more premium.
If you use a DIY stack under a laptop rather than a monitor, watch heat. Laptops need intake and exhaust paths; a solid book stack that seals the base can raise temperatures during long compiles or calls.
For dual monitors, DIY height matching is harder. Two uneven stacks create a twisted neck line. A single wide board across both bases can help for a trial, but a proper dual riser or arms usually ages better.
Price is not a reliability signal by itself. A low-cost metal riser with a wide base can outperform a decorative wooden riser that tips when you bump the desk. Check footprint, stated load, and whether the monitor stand feet sit fully on the platform.
If your monitor uses a VESA mount and you already know you move the screen often, skip the riser debate and read the arm comparison guide. Risers solve height. Arms solve height plus ongoing repositioning.